 Oldsmar Siding
 Siding Repair Built for What Town 'N Country Actually Deals With
Siding repair sounds like a simple job until you look closely at what's actually causing the damage. In the Town 'N Country area near Oldsmar, siding doesn't fail because a homeowner neglected it — it fails because the material and the installation weren't built to handle this specific combination of stresses. Hurricane-force winds push rain sideways into joints and seams that were only ever designed to shed water falling straight down. Intense, nearly year-round UV breaks down caulk, finishes, and unstabilized materials faster than a cooler climate ever would. Salt air drifting in off Tampa Bay accelerates corrosion in fasteners and trim. None of that is unique to any one house — it's the baseline condition every wall in this area is working against, every day, whether the siding shows it yet or not.
That's why a repair crew's local track record matters as much as their technical skill. A patch job that would hold up fine in a drier, milder region can fail here within a season or two if it doesn't account for how this climate actually behaves. This page focuses specifically on siding repair for the Town 'N Country area — what causes the damage, what a correct repair actually involves, and why local experience changes the outcome.
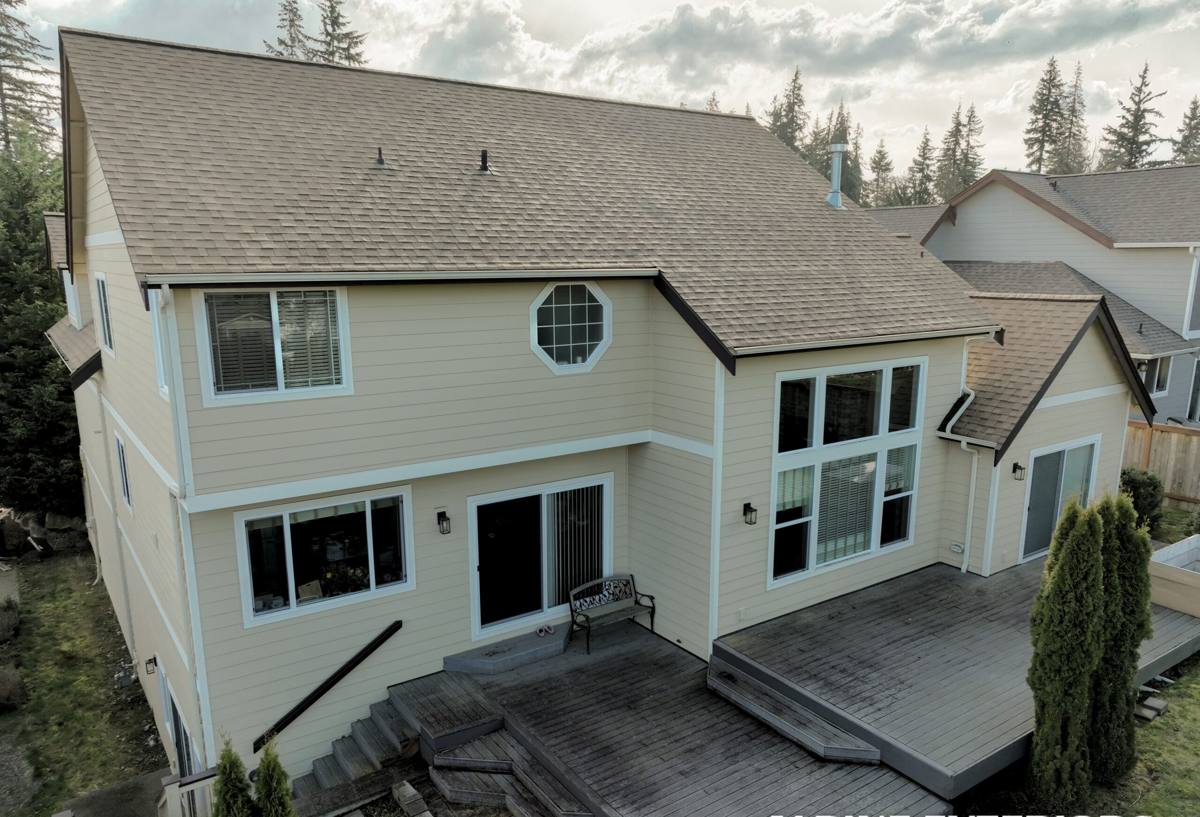
What's Actually Causing the Damage
Wind-Driven Rain at Seams and Laps
Straight-down rain is easy for almost any siding to shed. Wind-driven rain isn't, because it hits the wall at an angle and gets forced into laps, seams, and trim lines that were never designed to handle water moving sideways or upward. Every joint, corner, and penetration in a home's siding gets tested during a real wind event, and that's exactly when a marginal seal or an under-lapped joint turns into an active leak path. Over repeated storms, water finds the same weak points again and again, and the damage compounds each time.
UV Breakdown of Caulk and Finish
Florida sun is intense almost year-round, not just in summer, and it's hard on anything exposed to it continuously. Caulk joints dry out, shrink, and crack. Unstabilized paint finishes chalk and fade unevenly. Once a caulk joint fails, it's no longer a cosmetic issue — it's an open path for water to get behind the siding, and from there the damage moves from the surface toward the sheathing and framing.
Salt Air and Fastener Corrosion
Salt-laden air moving in off Tampa Bay doesn't stay near the water — it travels inland and works on metal continuously, not just during storms. Once a fastener starts corroding, it loses holding strength, and the small gap that forms where it penetrates the siding becomes its own entry point for water. Corroding fasteners are one of the more overlooked causes of siding repair calls, because the visible symptom — a slightly loose panel, a faint rust streak — often shows up well after the corrosion process has already been underway.
Impact and Physical Damage
Beyond the slow, ongoing environmental stress, siding in this area also takes direct hits — wind-blown debris during storms, lawn equipment, ladders, the occasional accidental impact. A cracked or punctured panel isn't just cosmetic; it's a breach in the water-resistive layer of the wall, and it needs to be addressed with the same urgency as a failed seam, not left for the next round of repairs.
Why "Just Patch It" Isn't Always the Right Call
Not every repair should be a like-for-like patch, and a contractor who defaults to that answer every time isn't necessarily doing you a favor. The right approach depends on what's actually failed and why. If the damage is isolated — a single cracked panel, one section of failed caulk — a targeted repair that matches the existing material and finish is usually the correct, cost-effective move. If the damage is a symptom of a broader problem — repeated moisture intrusion at the same wall, corroding fasteners across a whole elevation, siding that's original to a home built decades ago — then patching the visible symptom without addressing the underlying cause just buys a little time before the same call comes back.
Part of a correct repair is being honest about which category a given job falls into before any work starts, not after.
What a Correct Repair Actually Involves
- Diagnose the cause, not just the symptom — determine whether the visible damage is isolated impact, seam failure, fastener corrosion, or a sign of moisture that's already moved past the siding into the wall assembly
- Check behind the siding where access allows — a competent repair doesn't stop at the visible surface; it looks at the water-resistive barrier and sheathing condition at the repair site before closing anything back up
- Match material and profile — replacement pieces need to match the existing siding's exposure, thickness, and profile so the repair doesn't stand out or create a new water path at the transition
- Re-flash and re-seal correctly — any joint, seam, or penetration disturbed during the repair gets flashed and sealed to current best practice, not just caulked over and called finished
- Match the finish — for factory-finished fiber cement, that means matching the actual ColorPlus finish rather than field-painting a patch that will weather differently than the surrounding panels over time
- Verify fastener condition — any corroded or failing fasteners near the repair area get replaced, not just left in place because they're not the piece that's visibly broken
Repair Approach by Damage Type
| What's Happening | Typical Repair Approach | What to Watch For |
|---|---|---|
| Isolated impact damage (crack, puncture) | Replace the affected panel section, matched to existing profile and finish | Confirm the water-resistive barrier behind the damaged spot wasn't also breached |
| Failed caulk joints, no visible interior damage | Remove and properly re-seal the joint with the correct sealant for the material | Caulk that's failed once in a UV-heavy climate often needs more frequent attention going forward, not a one-time fix |
| Repeated staining or soft spots at one wall | Open the area to assess sheathing condition before deciding on patch vs. larger repair | Surface repair without checking behind the siding can mask an active moisture problem |
| Corroding or loosening fasteners | Remove and replace with corrosion-appropriate fasteners, re-securing the affected panels | Corrosion on a few visible fasteners is often a sign the same fastener type was used across a wider area |
| Widespread cupping, warping, or delamination (older wood-based siding) | Section repair is usually a short-term patch; full replacement is often the more honest long-term answer | A crew that only offers to patch material that's failing structurally isn't giving you the full picture |
Signs You're Looking at a Repair, Not Just Maintenance
- Cracked, split, or punctured siding panels, even if the crack looks small
- Caulk that's visibly shrunk, cracked, or pulled away from a joint
- Rust streaking below fastener heads or trim
- Panels that feel slightly loose or move when pressed
- Discoloration, staining, or a musty smell on the interior wall near an exterior repair area
- Soft or spongy sheathing felt through a damaged section of siding
- Peeling or bubbling paint concentrated in one area rather than spread evenly across the elevation
Why a Crew That Already Works This Area Matters
Manufacturer repair guidance is written for average conditions, and homes near Oldsmar rarely see average conditions. A crew that doesn't regularly work this part of Pinellas County can get a repair technically correct on paper and still miss the details that actually matter here — how much overlap a re-flashed joint needs given the wind-driven rain this area sees, which sealant actually holds up under near-constant UV instead of failing again within a year, how aggressively salt air has likely already worked on fasteners that look fine from the ground.
Working this area regularly also means knowing what tends to fail first on the housing stock that's common here, and knowing it before the ladder goes up. That's the difference between a repair that solves the actual problem and one that just covers it back up until the next storm season finds it again.
Why We Repair With James Hardie Fiber Cement
When a repair calls for replacement material, we use James Hardie fiber cement — the same product line we install on full siding jobs, not a mismatched substitute. Fiber cement doesn't absorb and swell with moisture the way wood-based siding does, which matters directly for repair longevity in a climate that swings between saturating rain and intense sun within the same day. Hardie's factory-applied ColorPlus finish also means a repaired section can be color-matched accurately instead of relying on a field-mixed paint that will fade and weather differently than the surrounding siding over the following years. For homes where the existing siding isn't Hardie, we'll walk through honestly whether a matched patch is realistic or whether the repair is a sign it's time to talk about what replacing that section — or eventually the whole elevation — with a material built for this climate would look like.
What to Expect From Our Repair Process
We start with an on-site assessment, not a phone estimate, because siding damage in this climate is rarely just what's visible from the driveway. We'll identify the cause of the damage, check what's happening behind the affected siding where access allows, and give you a straight answer on whether a section repair is the right call or whether the damage points to a bigger problem worth addressing now instead of later. If a repair is the right move, we handle the material matching, flashing, sealing, and fastener work as a complete job — not a quick patch that leaves the same weak point one storm season away from failing again.
If you're seeing damage on a Town 'N Country area home near Oldsmar — a cracked panel, a failed seam, a spot that's been bothering you for a while — we offer free, no-pressure estimates. Use the form below to get a time on the schedule.