 Oldsmar Siding
 Why Countryside Siding Takes a Beating
Countryside sits inland from the coast but still gets the full weather package that comes with living in Pinellas County. Hurricane-force winds don't need a direct coastal hit to do damage — gusts funnel through neighborhoods, catch loose panels, and drive rain sideways into seams that were never meant to see water. Add in Florida's year-round UV load, which breaks down caulk, primer, and unprotected wood fiber faster than almost anywhere else in the country, and you've got a climate that is genuinely hard on exterior siding.
Salt air reaches further inland along the Gulf Coast than most homeowners assume, and combined with the humidity that never really lets up, it accelerates corrosion on fasteners and trim, and keeps moisture sitting against siding longer after every storm. None of this means Countryside homes are doomed to constant repairs — it means repairs need to be done correctly, with materials and methods suited to this specific climate, or the same problem comes right back.
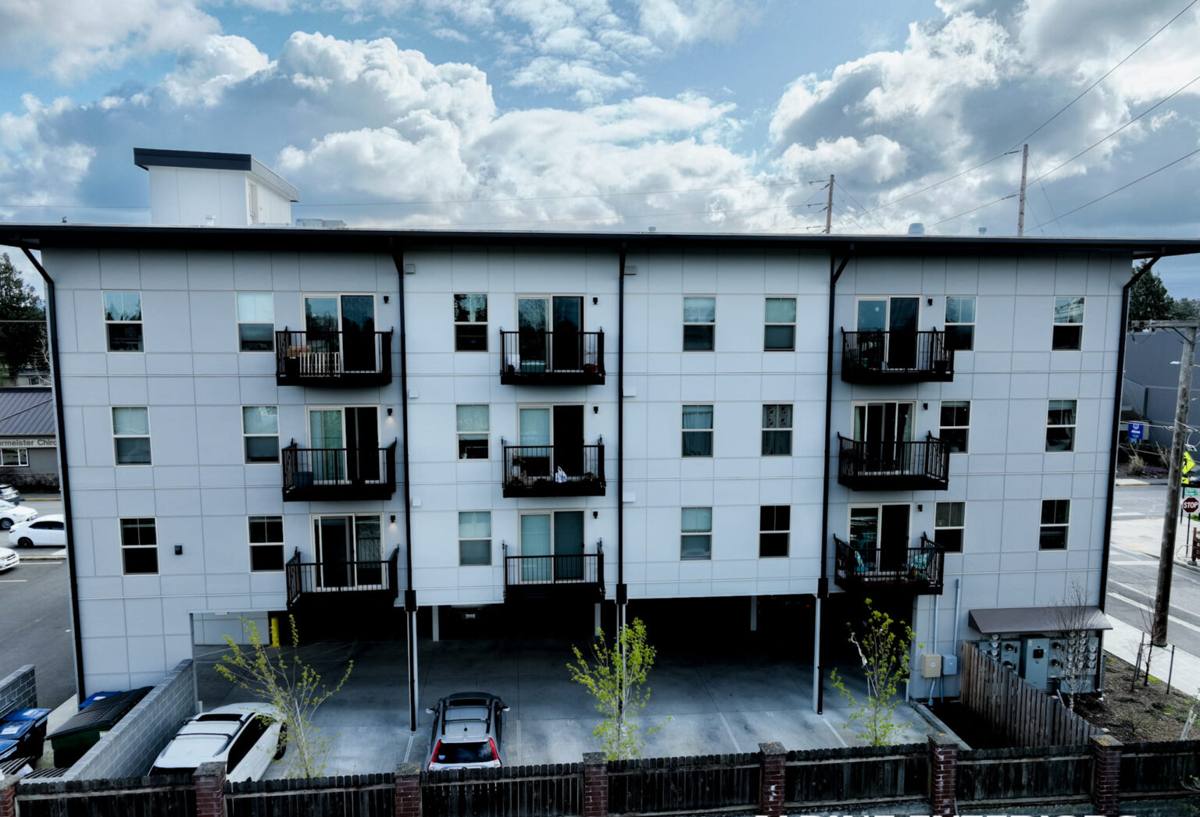
Signs Your Siding Needs Repair — Not Just a Look
Some siding damage is obvious. A lot of it isn't, and the damage you can't see is usually the kind that costs the most to ignore. Before scheduling anything, walk your exterior and check for these:
- Soft, spongy spots when you press on the siding, especially near the bottom courses and around windows
- Visible cracking, buckling, or panels that have pulled away from the wall
- Peeling or bubbling paint, which often points to moisture trapped underneath rather than just an old paint job
- Dark streaking or discoloration that keeps returning even after cleaning
- Gaps or separation at seams, corners, and around windows and doors
- A musty smell near exterior walls inside the home, which can mean moisture has already worked its way through
- Visible fastener rust or nail heads backing out of the siding
Any one of these on its own might be minor. Several together, or damage that's spread across more than one wall, usually means the underlying moisture barrier or flashing has failed somewhere, not just the visible siding.
What a Correct Siding Repair Actually Involves
Diagnosing the Real Cause First
The most common mistake in siding repair isn't a bad patch job — it's patching over the wrong problem. Cracked or stained siding is frequently a symptom of failed flashing, a caulking joint that gave out years ago, or water intrusion at a window or roofline that has nothing to do with the siding material itself. A proper repair starts by pulling back the damaged section and checking what's behind it: the weather-resistive barrier, the flashing, and the framing underneath. If that layer is compromised, replacing the siding without fixing what's behind it just buys a year or two before the same spot fails again.
Matching Materials and Finish
Once the cause is addressed, the visible repair has to actually match the rest of the house — not just in color, but in profile, reveal, and texture. This is where a lot of repairs go wrong, particularly on older homes where the original siding product is no longer made or the factory finish has faded unevenly over the years. A patch that doesn't match reads as a patch from the street, which matters if you're planning to sell or simply don't want an obvious repair on your home.
Sealing and Flashing Detail Work
Every seam, joint, and penetration point — around pipes, vents, hose bibs, light fixtures — needs proper flashing and sealant rated for exterior exposure, installed to shed water rather than trap it. This detail work is tedious and easy to rush, but it's the difference between a repair that lasts and one that reopens the same problem within a storm season or two.
Repair vs. Replacement: How to Think About It
Not every damaged section needs a full re-side, but there's a point where patchwork repair stops making financial sense. The table below covers the general factors that push a decision one way or the other — every home is different, and a proper inspection is the only way to know for sure.
| Factor | Favors Repair | Favors Replacement |
|---|---|---|
| Extent of damage | Isolated to one wall or a few panels | Spread across multiple walls or elevations |
| Underlying structure | Sheathing and framing are sound | Rot or moisture damage found behind siding |
| Age of existing siding | Relatively recent, still under warranty | Original siding is decades old or discontinued |
| Material match | Matching product still available | No reasonable match exists for a clean patch |
| Root cause | Isolated flashing or caulk failure | Systemic moisture intrusion or failed barrier |
Why We Rebuild Repairs in James Hardie, Not Whatever Was There Before
When we repair a section of siding, we install James Hardie fiber cement — that's the only product we put on a home, whether it's a full re-side or a patch. On a home in Countryside, that decision has real climate reasoning behind it. Fiber cement doesn't absorb water the way wood-based products can, so it doesn't swell, rot, or provide the same foothold for the mold and mildew that Florida's humidity encourages. It's non-combustible, which matters for insurance considerations regardless of storm damage. And Hardie's ColorPlus factory finish is baked on and warrantied against fading in exactly the kind of relentless UV exposure the Gulf Coast delivers year-round — a real advantage over field-applied paint, which is the first thing to fail on most damaged siding we get called out to inspect.
We won't patch a repair with vinyl, LP SmartSide, or other wood-based composite siding, even if that's what's currently on the house. Mixing a fiber cement repair onto a different substrate, or vice versa, creates inconsistent expansion, moisture behavior, and finish life — it's a compromise we don't think is worth making, even for a small section. Where an exact Hardie match isn't practical for a partial repair, we'll walk you through the honest options, including whether a full re-side of the affected elevation makes more sense than a visible patch.
Our Repair Process
1. On-Site Inspection
We look at the damaged area and the surrounding siding, checking behind panels where needed to find the actual source of the problem — not just the symptom you called about.
2. Honest Scope and Estimate
You get a clear explanation of what's actually wrong, what a proper fix requires, and a written estimate before any work starts. If repair isn't the right call, we'll tell you that directly rather than patching over a bigger issue.
3. Remove and Address the Cause
Damaged siding comes off, and any compromised flashing, barrier, or framing gets addressed first. Skipping this step is how repairs fail early.
4. Install and Match
New Hardie material is installed to manufacturer spec, with proper fastening, clearances, and joint treatment, matched as closely as possible to the surrounding siding's color and profile.
5. Final Weatherproofing Check
Every seam and penetration point in and around the repair gets checked and sealed before we consider the job finished.
Why a Crew That Works Countryside Regularly Matters
Siding repair isn't just a general handyman skill — it's a trade with real technique behind flashing details, moisture diagnosis, and material handling, and it shows in how long a repair actually lasts. A crew that already works in and around Countryside and the broader Oldsmar area knows the kind of wind exposure, humidity, and storm patterns local homes deal with, and shows up prepared for the flashing and moisture issues that are common here rather than treating every job as a first guess. That familiarity also means faster, more accurate diagnosis on-site instead of guesswork, and a contractor who's still local and reachable if a question comes up after the work is done — not a crew that drove in from out of the area for one job and is gone.
After the Repair: Keeping It That Way
A correctly done repair should hold up for years, but a little maintenance extends that considerably in this climate:
- Rinse siding periodically to clear salt residue and airborne debris, especially after storms
- Keep sprinklers and irrigation heads from spraying directly on siding, which accelerates staining and moisture exposure
- Trim back landscaping that holds moisture against exterior walls
- Do a visual check after major storms for new cracks, gaps, or loose sections
- Have caulking and sealant joints inspected every couple of years, since they're usually the first thing to give out
If you're seeing damage, staining, or soft spots on your Countryside home's siding, we're happy to take a look and give you a straight answer on what it needs. The estimate is free, there's no pressure, and if a small repair is genuinely all that's needed, that's what we'll recommend — just fill out the form below to get started.