 Oldsmar Siding
 Siding Installation in Lutz: What the Climate Actually Demands
Homes in and around Lutz sit in a stretch of west-central Florida that doesn't go easy on exterior building materials. Between hurricane-force wind events, intense year-round UV exposure, wind-driven rain that gets pushed sideways into wall assemblies, and the salt-laden air that drifts inland from the Gulf, siding here is doing real structural and protective work every single day — not just providing curb appeal. A siding installation in this area has to be evaluated on how it performs under sustained moisture cycling and storm pressure, not just how it looks on install day.
That's a different standard than siding installed in a mild, dry climate. Product choice matters, but so does the installation itself — flashing details, fastening patterns, and moisture management either hold up under those conditions or they don't. We treat every Lutz-area project as a climate-first installation, not a cosmetic upgrade.
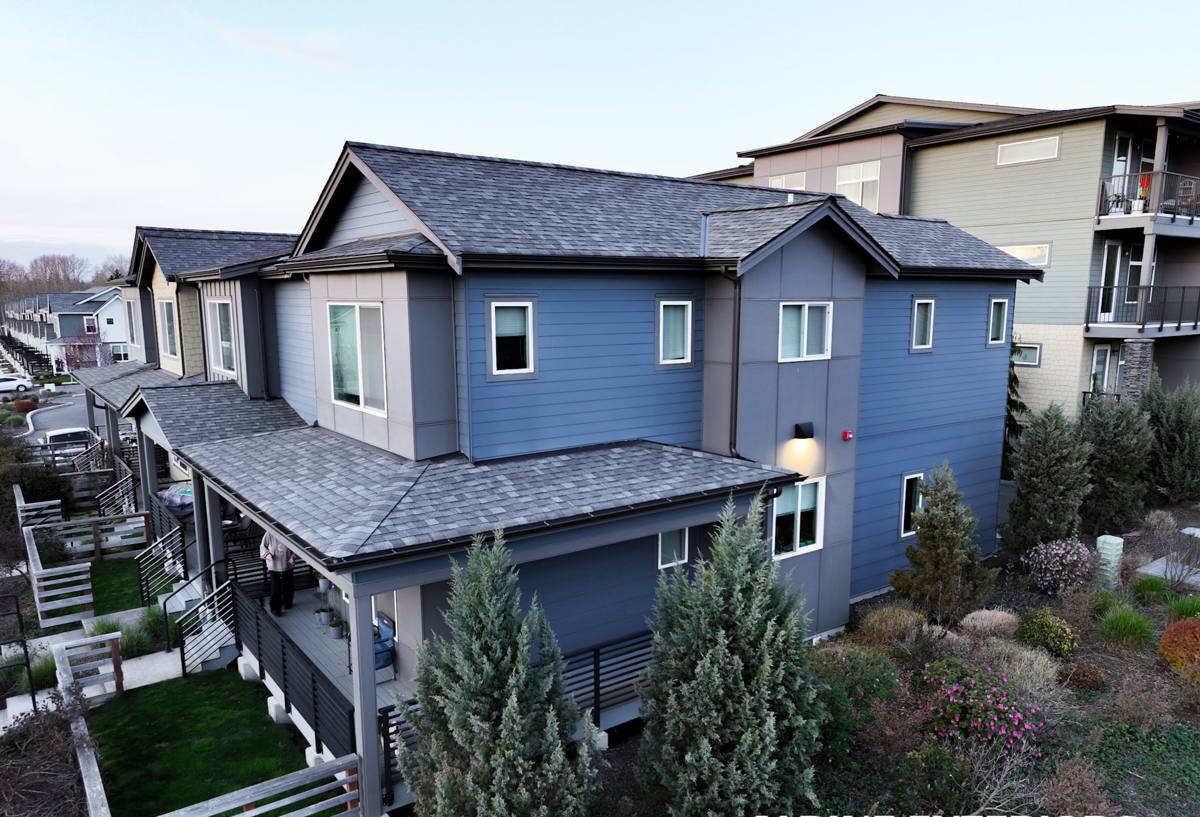
Why Correct Installation Matters as Much as Product Choice
Even the best siding material fails prematurely when it's installed incorrectly. In this region, the two failure points we see most often on homes with problem siding are moisture intrusion behind the cladding and fastener or panel failure during high wind events. Both are installation issues, not product issues — meaning they're preventable with the right crew and the right process.
Moisture Behind the Wall
Wind-driven rain doesn't just hit siding from the front — it gets pushed up under laps, around penetrations, and behind trim if the water-resistive barrier, flashing, and gaps aren't detailed correctly. Once water gets behind the siding, it doesn't dry out fast in Florida's humidity, and that's when sheathing, framing, and interior finishes start to suffer.
Wind Load on Fasteners and Panels
Siding has to stay attached through sustained wind events, not just resist a light breeze. Fastener spacing, fastener type, and butt-joint treatment all affect how a wall system performs when wind pressure builds against it. Manufacturer installation instructions exist specifically because these details change the wind performance of the finished wall — skipping them isn't a cosmetic shortcut, it's a structural one.
What a Correct Siding Installation Involves
A proper installation is a sequence, not a single step. Skipping or rushing any part of it is where most of the long-term problems start.
- Removal of old siding and inspection of the sheathing underneath for rot, delamination, or prior water damage
- Repair or replacement of any compromised sheathing before new material goes up
- Installation of a correctly lapped water-resistive barrier
- Proper flashing at windows, doors, and any wall penetrations
- Correct fastener type, spacing, and embedment per manufacturer specification
- Manufacturer-specified clearances at grade, roof lines, and decks to keep siding out of standing water and direct soil contact
- Sealed and caulked joints only where the manufacturer calls for sealant — not as a substitute for proper flashing
- Final inspection of butt joints, corners, and trim for consistent gapping and finish
Any one of these steps done wrong can undercut the performance of an otherwise good product. This is the part of the job that doesn't show up in a photo but determines whether the siding is still doing its job in ten years.
Our Installation Process for Lutz-Area Homes
1. On-Site Assessment
We start with a walk-around of the home to look at current siding condition, trim and flashing details, drainage patterns around the foundation, and any areas showing past water intrusion. This is also when we talk through color and profile options.
2. Written Scope and Estimate
You get a clear, itemized scope — what's being removed, what's being repaired, what's being installed, and the fastening and flashing approach we'll use. No vague line items.
3. Sheathing Repair Before Cladding
If we find damaged sheathing once old siding comes off, it gets addressed before anything new goes up. Installing new siding over compromised sheathing just hides the problem for a while longer.
4. Installation to Manufacturer Specification
We install strictly to James Hardie's published fastening, clearance, and flashing requirements for this climate zone. That's what keeps the manufacturer's warranty intact and what gives the wall system its real-world wind and moisture performance.
5. Final Walkthrough
We walk the finished job with you, checking trim lines, caulking, paint/finish consistency, and clearances before calling it complete.
Why We Install Only James Hardie Fiber Cement
We made a decision to install one product system — James Hardie fiber cement — and not others like vinyl, LP SmartSide, or other fiber cement competitors. That's not a marketing position, it's a maintenance and durability position built around exactly the conditions this region produces.
Fiber cement is non-combustible, which matters in a state where wildfire and electrical fire risk are part of insurance underwriting conversations. It doesn't warp, sag, or become brittle under sustained UV exposure the way some engineered wood and vinyl products can over a long Florida summer cycle. James Hardie's ColorPlus factory-applied finish is baked on under controlled conditions and backed by its own finish warranty, which is a meaningfully different proposition than field-applied paint that has to fight UV and humidity from day one.
James Hardie also engineers specific product lines (their HZ5 designation, used in this climate zone) for high-humidity, hurricane-prone regions — the product itself is specified for exactly the exposure that Lutz-area homes deal with. Combined with a strong transferable warranty, that's why it's the only system we put our name behind.
Product Comparison Snapshot
| Factor | James Hardie Fiber Cement | Vinyl | Engineered Wood (e.g., LP SmartSide) |
|---|---|---|---|
| Combustibility | Non-combustible | Combustible | Combustible |
| UV/heat stability | Engineered for sustained sun exposure | Can warp/fade under prolonged heat | Moderate; finish-dependent |
| Moisture behavior | Resists moisture-related swelling when installed to spec | Doesn't rot but can trap moisture behind panels | Wood core vulnerable to moisture if finish is breached |
| Finish durability | Factory ColorPlus finish, separately warrantied | Color molded in, can chalk over time | Field or factory finish, repaint cycles typical |
| Wind/impact resistance | Rigid, holds fastening well when installed correctly | Can crack or blow off in high wind if under-fastened | Generally solid but finish/edge sealing is critical |
Signs a Lutz Home May Need New Siding
- Visible cracking, bubbling, or separation at panel seams
- Soft spots or give when pressing on siding near the base of walls
- Persistent staining or streaking that doesn't wash off
- Paint failure or chalking well ahead of expected repaint cycles
- Warping, buckling, or panels that no longer sit flat against the wall
- Interior signs like peeling paint or musty smell along exterior walls, which can point to moisture getting in from outside
If you're seeing more than one of these, it's worth having the wall assembly looked at, not just the surface — surface repairs on top of a compromised assembly don't hold.
Cost Factors for a Siding Installation Project
| Factor | How It Affects Scope |
|---|---|
| Home size and wall complexity | More corners, gables, and trim detail increase labor time |
| Condition of existing sheathing | Rot or water damage found during tear-off adds repair scope before new siding goes up |
| Siding profile and accessories | Lap width, trim style, and accent details (shakes, board-and-batten sections) affect material and labor |
| Access and site conditions | Landscaping, fencing, or multi-story sections can affect staging and labor time |
| Tear-off and disposal | Removing and hauling away old siding is part of the scope, not an add-on |
We don't give ballpark numbers without seeing the house — too many of these factors are only visible once we've walked the property and, in some cases, opened up a section of old siding.
Why It Matters to Hire a Crew That Already Works This Area
A contractor who regularly works homes in and around Lutz and Oldsmar has already seen how this region's wind exposure, humidity, and salt air actually play out on real houses — which flashing details tend to get missed, which wall orientations take the worst weather, and what clearances actually hold up over time here versus on paper. That local pattern recognition shows up in the small decisions made on-site, not just in the sales pitch.
It also matters for accountability. A crew with an ongoing local presence has a reason to stand behind the work years down the road, not just get through the punch list and move on.
If you're weighing a siding installation for a Lutz-area home, we're happy to walk the property, look at what's there now, and give you a straight assessment of what it needs. Reach out for a free, no-pressure estimate using the form below.