 Oldsmar Siding
 Feather Sound sits in the Tampa Bay stretch of Pinellas County, close enough to the water and the Bayside Bridge corridor that every building material on a house has to answer to salt air on top of everything else Florida throws at it. When a home in this area is being newly built, added onto, or has an exterior wall opened up for a bump-out or a full rebuild, the windows going into those rough openings are a different product and a different installation method than swapping an old window for a new one in an existing wall. New-construction windows are set before the exterior finish goes on, tied into the water-resistive barrier and the framing itself, and in a coastal Pinellas County build that first installation has to be right, because a lot of what protects it afterward gets covered up by siding, stucco, or trim within days.
What "New-Construction Window" Actually Means
The term causes confusion because both new-construction and replacement windows can go into a brand-new house. The difference is the frame design and how it attaches to the structure. A new-construction window has a nailing flange (fin) around its perimeter that gets fastened directly to the sheathing and integrated with the house wrap or building paper before siding or stucco covers it. A replacement or retrofit window has no flange — it's built to slide into an existing finished opening without disturbing the exterior cladding around it.
For a Feather Sound project that's still under construction, in the framing stage of an addition, or having a wall opened for a bump-out, the flanged new-construction window is almost always the correct choice. It lets the flashing and water-resistive barrier work as one continuous system instead of being patched around an existing finish, which matters more here than in a drier, calmer climate.
Why the Distinction Isn't Just Semantics
Using the wrong window type for the stage of construction creates real problems. A new-construction flanged window forced into a finished wall means cutting into good siding or stucco to expose the flange, which is disruptive and hard to flash cleanly after the fact. A retrofit window installed during framing, before the exterior finish exists, skips the flange-to-WRB integration that gives a new-construction opening its best water resistance. Matching the window type to the construction stage isn't a style preference — it's what makes the water management plan for the whole wall actually work.
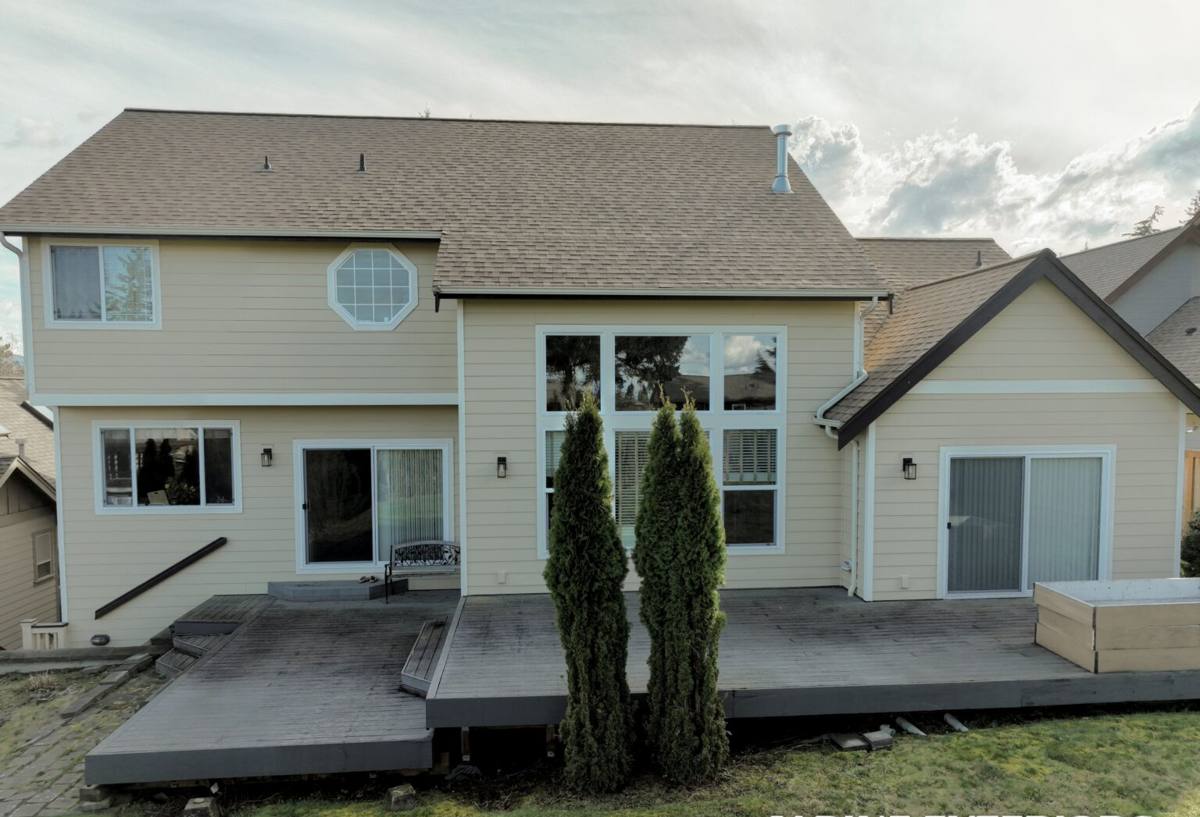
What Feather Sound's Climate Asks of a New Window Opening
Pinellas County sits in Florida's wind-borne debris region under the Florida Building Code, and Feather Sound's location near Tampa Bay adds direct exposure to wind off open water during the worst of it. That means most new window openings here have to meet impact-resistance or wind-pressure-rated glazing requirements as a baseline, not an upgrade. Beyond wind load, three other factors work on new windows year-round:
- Hurricane-force wind events — test both the glazing rating and how securely the frame is anchored into the structure
- Intense, near-constant UV — breaks down lower-grade vinyl, weatherstripping, and sealants faster here than in most of the country
- Wind-driven rain — pushes water sideways into wall assemblies during both named storms and ordinary heavy downpours, which is exactly what flashing at a new opening has to be built to stop
- Salt air off Tampa Bay — accelerates corrosion on hardware, fasteners, and any frame or reinforcement component not rated for a coastal environment
None of this is unique to Feather Sound, but it's a real, constant factor on every new opening in this part of the county, and it's easiest to build in correctly at the framing stage — before the wall is closed up and those details are hidden.
How a Correct New-Construction Window Installation Works
The window unit itself is only part of the job. What actually determines whether a new opening stays dry for the next twenty years is the sequence of work around it.
1. Rough Opening Prep
The opening gets checked for square, plumb, and correct dimensions against the window's actual size before anything is installed. Sheathing around the opening is inspected for damage or gaps that need addressing before flashing goes on.
2. Water-Resistive Barrier and Flashing, in the Right Order
Flashing tape or a pan flashing goes at the sill first, lapped correctly with the house wrap so water is directed out and down, never trapped behind the window. Side and head flashing follow, each piece lapped over the one below it — this shingle-style layering is what actually sheds wind-driven rain, and it's the step that gets rushed on a job that isn't being done carefully.
3. Setting and Anchoring the Window
The flange is fastened per the manufacturer's schedule and the applicable wind-load requirements — spacing and fastener type aren't optional details in a wind-borne debris zone. The unit is checked for square and proper reveal before it's locked in.
4. Sealing and Exterior Finish Tie-In
Sealant goes at the specified points — not everywhere, since sealing the wrong spots can trap water instead of releasing it. Once the exterior finish (siding, stucco, or trim) is installed around the window, the whole assembly gets a final check that flashing laps are still correct and nothing shifted during that work.
5. Interior Air Sealing and Insulation
The gap between the window frame and rough opening gets sealed and insulated on the interior side too — this affects comfort and energy performance, and it's easy to skip since it's invisible once trim goes on.
Impact Glass vs. Impact Shutters for New Construction
Since a Pinellas County new-construction project has to meet wind-borne debris requirements, homeowners have a real choice to make between laminated impact glass built into the window and non-impact glass paired with separate shutters or panels. Both can satisfy code. They don't perform the same way day to day.
| Factor | Impact Glass Windows | Non-Impact Glass + Shutters |
|---|---|---|
| Storm prep effort | None — the protection is built into the window | Shutters or panels must be deployed before every storm |
| Daily appearance | Unobstructed view year-round | Clear until shutters go up; some styles are visible when stored |
| Upfront cost | Higher per window | Lower window cost, added shutter cost |
| UV and noise performance | Laminated interlayer also cuts UV transmission and outside noise | No added benefit outside of storm events |
| Long-term maintenance | Glass and frame maintenance only | Separate hardware (tracks, panels, storage) to maintain |
We'll go over both approaches honestly for a specific project — there are legitimate reasons to choose either one, and it often comes down to budget, how the home will be used, and whether the owner wants to think about storm prep at all once the house is built.
Cost Factors on a New-Construction Window Package
Every new build or addition in Feather Sound has a different window count, opening sizes, and finish goals, so a real number only comes from a walkthrough of the plans or the framed openings. The factors that move the estimate the most are worth understanding before that conversation:
- Number and size of openings — a full-house package prices differently per unit than a single addition window
- Impact rating — laminated impact glass costs more per unit than standard glazing paired with separate shutters
- Frame material — vinyl, fiberglass, and aluminum carry different price points and different long-term maintenance in a coastal, high-UV climate
- Non-standard shapes or sizes — arched, oversized, or custom-proportioned openings cost more than stock rectangular units
- Access and staging — a project mid-framing versus one still at the slab stage changes labor logistics
- Coordination with other trades — timing installation with the framer, the WRB/house wrap installer, and the siding or stucco crew affects scheduling but not usually unit cost
Coordinating With the Build Timeline
New-construction windows only work correctly if they go in at the right point in the build sequence — after the water-resistive barrier is on and the openings are properly prepped, but before siding, stucco, or exterior trim closes everything up. On an addition or a partial rebuild, that window is often narrower than on a full new build, since the rest of the house is already finished and weather-exposed while that one section is open. A crew that coordinates directly with the framer and the exterior finish trade, rather than working in isolation, keeps that sequence tight and reduces how long a wall sits open to Tampa Bay weather.
A Practical Pre-Installation Checklist
- Confirm window sizes against actual framed rough openings, not just the plan set — field dimensions sometimes differ from drawings
- Verify the impact rating or shutter plan meets Pinellas County's current wind-borne debris requirements for the home's specific wind zone
- Confirm the water-resistive barrier is installed and inspected before flashing and window-setting begins
- Decide on frame material and finish color before ordering — changes after the order is placed usually mean a new lead time
- Set a realistic delivery window with the supplier, since custom sizes and impact-rated units are built to order, not stocked
- Schedule installation to align with the siding or stucco crew so the opening isn't left exposed longer than necessary
Why a Crew That Already Works Feather Sound Matters
Manufacturer installation instructions are written for average conditions, not for a wall assembly that has to survive hurricane-force wind, sustained subtropical UV, wind-driven rain, and salt air off Tampa Bay all in the same year. A crew that has actually flashed openings, anchored frames to code, and coordinated with framers and siding installers on other Feather Sound and Oldsmar-area projects knows which parts of the manufacturer's guidance are non-negotiable in this climate and where a shortcut installation tends to fail first — usually at the flashing laps and sealant points, not the glass itself.
That local experience also means fewer surprises mid-build: knowing what Pinellas County's inspectors look for on a window rough-in, having a working relationship with local suppliers on lead times for impact-rated custom sizes, and understanding how a Tampa Bay-facing lot's wind exposure compares to a more sheltered inland site. None of that shows up in a glossy installation guide, but it shows up in whether the windows are still performing cleanly after the first few storm seasons.
Ready When You Are
Whether you're framing a new build, opening a wall for an addition, or planning a bump-out in Feather Sound, it's worth having someone look at the actual openings and the build schedule before you order windows. We offer free, no-pressure estimates for new-construction window projects in Feather Sound and throughout the Oldsmar area — use the form below to get a time on the schedule.